Ask AI About U-Pull-&-Pay

Find a Local Junkyard
ALABAMA
ARIZONA
COLORADO
FLORIDA
GEORGIA
INDIANA
KENTUCKY
LOUISIANA
MISSISSIPPI
NEW MEXICO
NORTH CAROLINA
OHIO
PENNSYLVANIA
SOUTH CAROLINA
TENNESSEE
TEXAS
How to Pull Your Own Auto Parts: A First-Timer's Safety Guide for Self-Service Junkyards
U-Pull-&-Pay | Apr 21, 2025
Pulling your own auto parts is one of the simplest ways to cut a repair bill down to size. When you remove the part yourself, you skip the labor charges and retail markups that come with buying new, and you walk away paying a fraction of the price. The catch for first-time visitors is that a self-service yard is a working industrial environment, not a tidy parts counter. Sharp metal, heavy components, and leftover fluids are all part of the territory, and showing up unprepared is the fastest way to leave empty-handed or hurt.
The good news is that a successful trip comes down to a little preparation. Knowing what to bring, how to confirm the part actually fits your vehicle, and which hazards to watch for turns a chaotic-looking lot into a place of real opportunity. This guide walks first-timers through the whole process: how a self-service yard works, the gear and tools to pack, the research to do before you leave home, the safety risks to respect, and a step-by-step approach to removing a part and getting it home in good shape.
How a Self-Service Junkyard Works
A self-service yard operates on a simple trade: you do the labor, you save the money. Vehicles are arranged across the lot, and customers bring their own tools to remove whatever parts they need. Most yards charge a small admission fee to enter and then price each part individually when you check out, so the cost reflects the component itself rather than any installation labor.
Because the inventory is made up of donor vehicles that come and go, the exact cars on the lot change constantly. Before you make the trip, it is worth checking the current online vehicle inventory and confirming a yard near you stocks the make and model you are after. You can locate a nearby self-service junkyard and review what is in the yard so you are not guessing once you arrive. Treat any listing as a snapshot, though, and verify availability close to your visit, since a part you spotted online may already be gone.
What to Bring: Gear and Tools Checklist
Protective gear is not optional in a salvage yard. It is the difference between a smooth trip and a trip cut short by a cut hand or a foot puncture. First-time visitors often underestimate how much sharp, rusted, and unstable material is lying around, so make this gear a non-negotiable part of your packing list.
- Sturdy closed-toe boots, ideally steel-toe, with slip-resistant soles for protection against sharp metal, nails, and uneven ground
- Cut-resistant work gloves to guard against jagged edges, broken glass, and grease
- Safety glasses or goggles to keep dust, rust flakes, and debris out of your eyes
- Long sleeves, durable pants, or coveralls to shield your skin and clothing
- Knee pads, which spare you real discomfort during a long parts hunt close to the ground
Your tools matter just as much. Bring quality hand tools that won't strip bolts or snap under pressure, and pack for the specific job when you can.
- A socket set and wrenches in both metric and standard sizes
- Screwdrivers, pliers, and a pry bar for stubborn clips and panels
- A breaker bar and penetrating oil for rusted or seized fasteners
- A flashlight or headlamp for dark engine bays and shaded corners
- Rags or absorbent material to handle grease and fluid spills
- Sturdy bags or bins to keep small parts and hardware together
Yards set their own rules about what equipment customers may bring, and some restrict power tools, jacks, or large carts. Check the rules for the specific location before you load up, so you don't arrive with gear you can't use.
Do Your Homework Before You Go
The most common first-timer mistake is pulling the wrong part. Used components are often shared across multiple model years and trims, but small differences in engine, transmission, or options can make an otherwise identical-looking part incompatible. A few minutes of research saves a wasted trip.
- Write down your vehicle's exact year, make, model, trim, and engine, since these details drive compatibility.
- Look up interchange information to learn which other vehicles use the same part, expanding your options on the lot.
- Note the part number from your old component or a parts database so you can confirm a match on site.
- Bring the old or damaged part with you when practical, so you can compare it side by side rather than relying on memory.
When you find a candidate part, inspect it closely before committing to the work. Look for rust, water damage, cracked housings, or worn connectors that signal the piece won't hold up. Verifying fitment and condition up front is the single best way to avoid a frustrating return trip.
Junkyard Hazards to Watch For
A salvage yard packs several real dangers into one space, and respecting them keeps your trip safe. Stay alert to the following:
- Sharp edges and broken glass. Cut metal, rusted panels, and shattered windows are everywhere. Move deliberately and keep your gloves on.
- Heavy components. Doors, glass, engines, and transmissions are heavier and more awkward than they look. Lift with your legs, get help with large items, and never let a heavy part swing free.
- Unstable vehicles. Cars may sit on uneven ground or temporary supports. Never crawl under a vehicle that isn't properly secured, and don't rely on a single jack or stack of debris.
- Residual fluids. Engine oil, coolant, brake fluid, fuel, and battery acid can linger in parked vehicles. Avoid skin and eye contact, and watch your footing on slick spots.
- Stored energy. Pressurized struts, charged air-conditioning lines, fuel systems, and undeployed airbags can release suddenly. Treat these systems with extra caution and leave anything you're unsure about alone.
- Terrain and weather. Mud, gravel, heat, and sun exposure add up over a long visit. Wear appropriate footwear, stay hydrated, and take breaks.
If a removal looks beyond your comfort level or a vehicle seems unsafe to work on, don't force it. Ask a yard staff member or an experienced visitor for guidance rather than risking an injury.
How to Pull the Part Step by Step
Once you've found the right vehicle and confirmed the part is in good shape, work methodically rather than rushing. A careful, planned removal protects both you and the part.
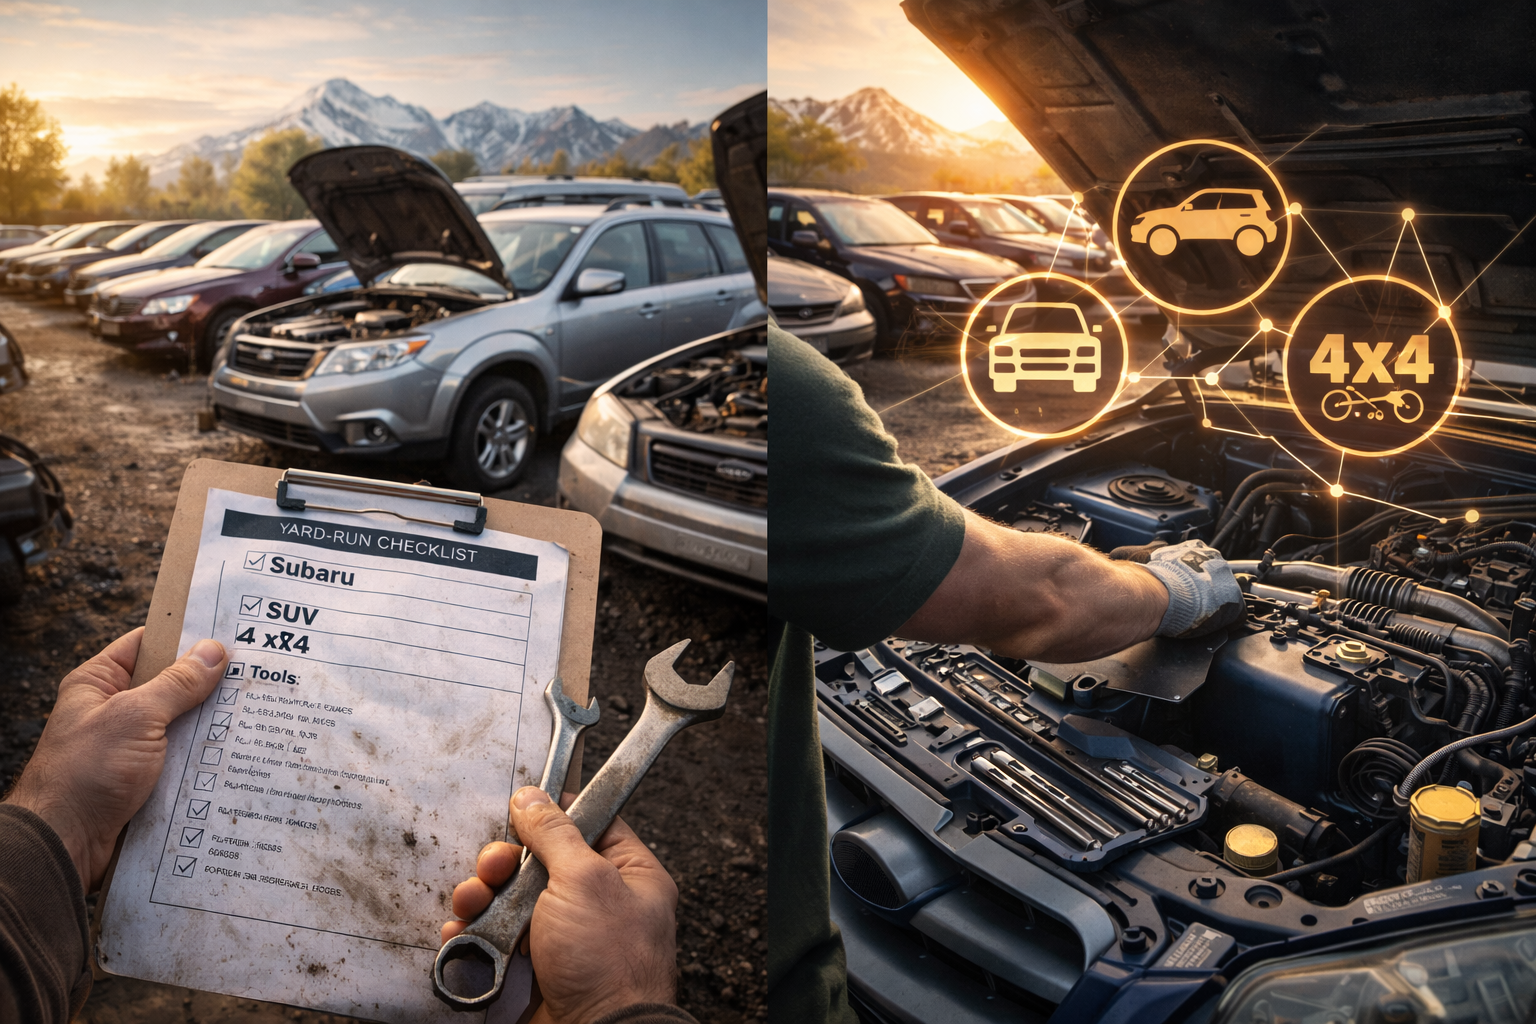
- Confirm the donor vehicle matches your year, make, model, and engine before you start.
- Map out the removal in your head, and snap photos at each stage so you have a reference when you reassemble at home.
- Disconnect wiring harnesses, plastic clips, and connectors gently, since these break easily when forced.
- Apply penetrating oil to rusted or stuck bolts and give it time to work before you wrench on them.
- Support heavy parts as you free the last fasteners so nothing drops on you or onto the part.
- Keep the bolts, brackets, and small hardware together, ideally bagged, so you have everything for installation.
- Wrap or pad the part to prevent damage on the way out of the yard and during transport.
After You Pull It: Cleaning, Inspecting, and Disposal
Your work isn't finished when the part leaves the yard. Clean it before installation, wiping away grease, dirt, and leftover fluids. A quick cleaning does more than tidy the part: it lets you spot hidden cracks, rust, or worn spots before you bolt the piece onto your car. Sensitive components such as sensors and electrical connectors especially benefit from careful, appropriate cleaning rather than a rough scrub.
Handle any fluids responsibly. Used oil, coolant, brake fluid, and similar substances can't go in the regular trash, and the rules for disposal and recycling vary from one place to another. Check your local regulations or a nearby auto parts store or recycling center for the correct way to dispose of or recycle these materials. Finally, secure your parts and tools for the drive home so nothing shifts, spills, or gets damaged in transit.
When Pulling Parts Isn't the Right Call
Self-service yards are a smart fix for many repairs, but not every situation. If a single fix is part of a longer list of failing components, add up the realistic total before you commit. When repair costs start climbing past what the vehicle is worth, it can make more financial sense to put that money toward a different car. In that case, you might compare your repair estimate against the price of a quality, affordable used car and decide which path actually saves you more over the next year or two.
The flip side is just as practical. If you have a non-running vehicle of your own sitting in the driveway, stripped for parts or simply past saving, you don't have to let it take up space indefinitely. You can sell an unwanted vehicle for cash and clear the room, while that car potentially becomes a donor for someone else's repair down the line.
Final Thoughts
Pulling your own auto parts rewards preparation. Come dressed for the environment, bring the right tools, confirm the part fits before you wrench on it, and respect the real hazards of a working yard, and you'll consistently leave with reliable parts at a fraction of retail. Each trip also builds skill and confidence, so the second visit is easier than the first. With a clear plan and steady safety habits, a self-service junkyard stops looking like a cluttered lot of old cars and starts looking like exactly what it is: an affordable, hands-on resource for keeping your vehicle on the road.